My favorite song is "Someone like you" by Adele. This is one of many songs that Adele has created and sang, there's just something about this song that stands out to me than all of the others. I really like the lyrics for this song because it's about how Adele found true love long ago, but it ended and she's been trying to get over it, but she can't and to make it worst he gets married and now she has a whole bunch of mixed emotions. She tries to remind him of her and hopefully he'll see that he loves her too. I just really like how she went through all that trouble and how she still wants him to like her, but nothing changes and I just LOVE how she still remembers what he said to her a long time ago and that she tries showing him that she still cares.
My team and I picked the song " Single Ladies" by Beyonce. We chose this song because we all thought that it was a cool and up beat song sang by one our favorite singers. The song is also relatable because sadly my team and I, Lani and Asha, are single. We thought this song really had some meaning behind it and it's just a really good song. The song "Single Ladies" is about how a girl, Beyonce, is left alone and she meets a guy and a whole bunch of stuff happens and she's not single anymore, but in the beginning she'll feels lonely and tries dancing it off and forgetting about it. I think that we chose a really good song because it's so upbeat, fun, fast, and just really new for my team and I. With this song my team and I could create a really fun and interesting dance to go with it our groovy moves would make this song 10x better than just us singing.
Our visual story is saying that there's a girl and she has recently been in a relationship, but it ended so now she's single and another is crushing on her and her ex is getting kind of jealous so she sings about how he should of "Put a ring on it" when he had the chance:)) to create this video we'll try to have a boy and we'll be crushing on him, but he rejects us so, we start dancing and singing that we're single. After that we lip-sync to the music in our video and we'll have another guy crushing on us and the other boy will get jealous. We keep lip- syncing and dancing.
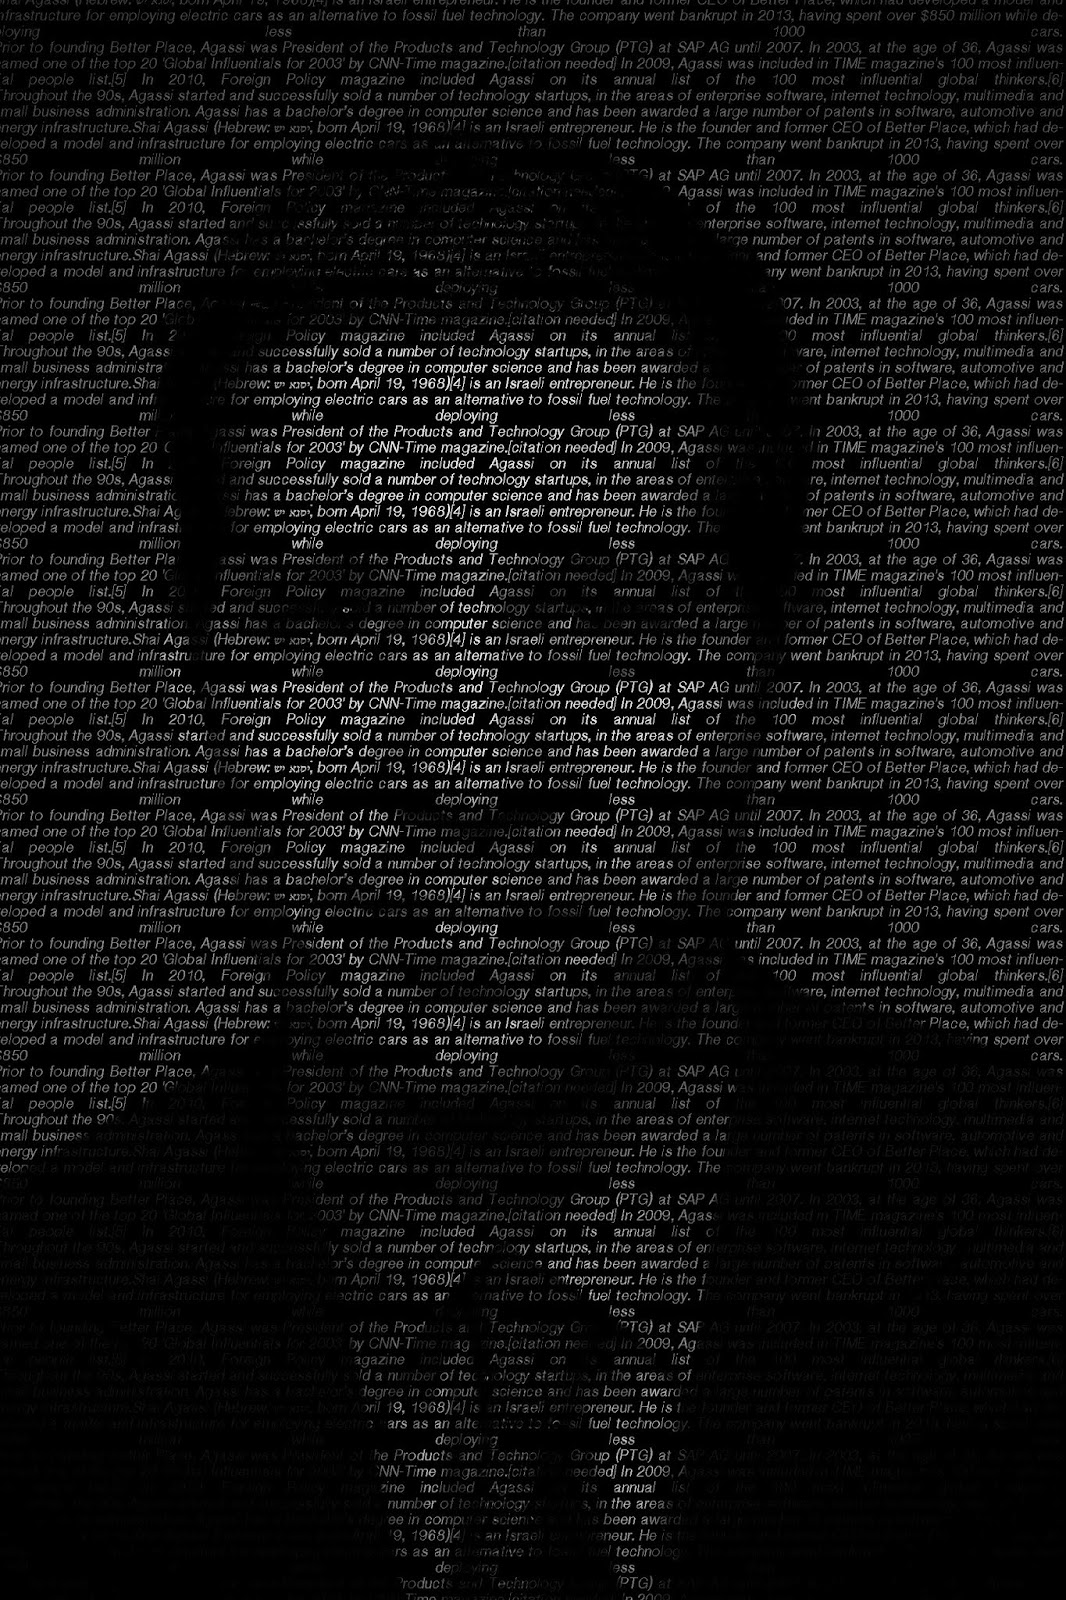
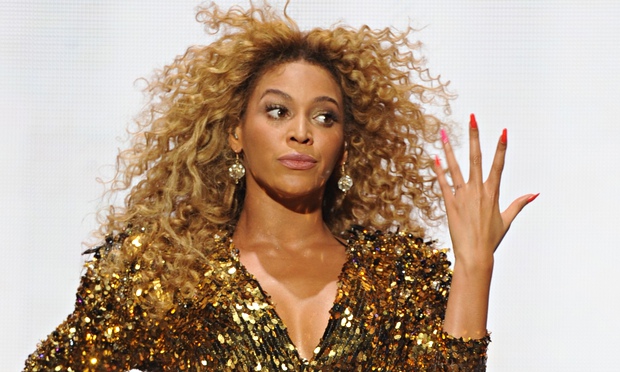
Beyonce Knowles
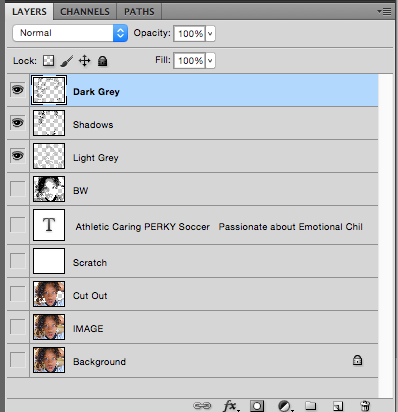
Production Plan