Hey guys! so our current project in GT is to create a Double Exposed Portrait. Portrait photography is photography of one person or multiple people showing emotion, personality, and mood of the subject. When taking portraiture the face is the main focus of the photograph, but other parts of the body may be added if necessary. The portrait photography is related to Silhouette because the profile image strongly depends on the main parts of the face (chin, nose, and forehead) these features make the image clear and understandable. When taking a portrait photograph you include the chin, forehead, and nose because those parts are part of the face which is how portraiture and profile view are related. It's related to profile view because both have a side view, outline, or represent some type of object.
This is an explanation on how double exposed portraits are created. First, take 3 amazing photos; 1 being the profile and 2 photos of anything you like or symbolizes you. For example you could capture shots of trees because you really like trees or you could take a picture of flowers, your favorite sport, beach, etc. Then, after taking those incredible photos you need to import them and open them in photoshop by first clicking on File > Scripts > Load Files into Stack. After all of your layers are there, there's a dodge tool icon on the left pallet the tool looks like a balloon with a straight stick coming out of it. When you click on that tool the brush icon should now be your mouse and you need to adjust it where it's either hard or soft big or small, but you really want to get around the edges so I would suggest using a small brush. After your done dodging your image you need to size and then crop your image. Once you've done that turn all of your layers to screen mode and after you've done that all images should be opaque.
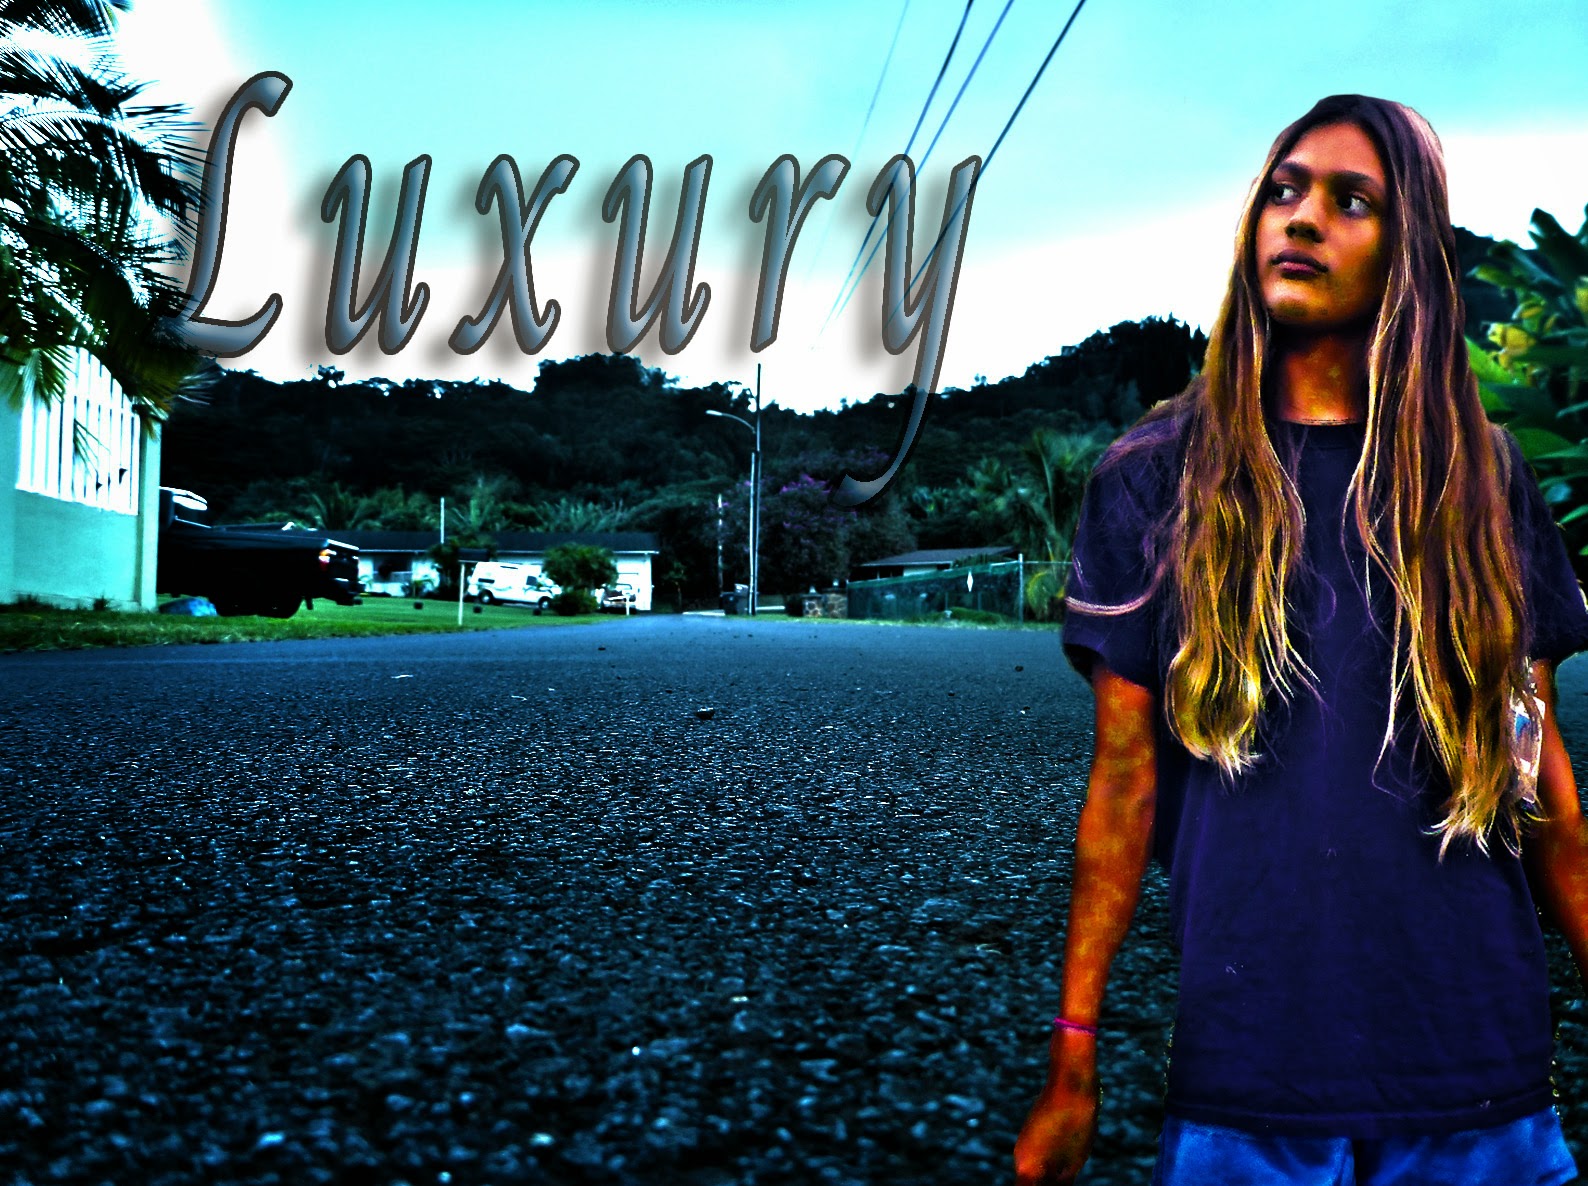
The two symbols I used are soccer and a sunset. i used these symbols because I thought that these really symbolized what I do with my free time and what I love to do. I took a picture of me with a soccer ball and my cleats because soccer is only like my number one favorite sport ever!! i love soccer and when Mr. Sanderl said that we had to rake pictures of what we love to do Soccer is the first thing that came to head. I used a sunset that I took from my church because I thought that the way the trees blocked some of the sky kind of told how i'm shy when I first meet you and then when you get the inner me, you really know me, and you got your way through my barrier it's very bright and vibrant because i have a very enthusiastic personality and i'm just very colorful, but you can only find out if you get through to me. I just really liked these topics that i took pictures of.