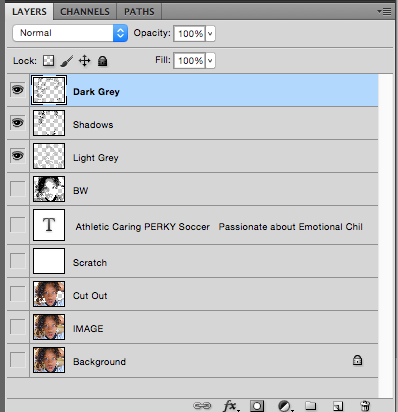
 My biggest challenge in this Typography Portrait Project was that in the beginning of the project my text wasn't showing up, so I had to fix this problem with out Mr. Sanderl. The first ting I did was go to the text editor thing on the right side of Photo Shop. I just started messing around with the editor and found out that my text were really close together so it looked like little dots. I also realized that the text was really small and the height was bunched up, so I increased the size of the text and made the height a taller so the text would be visible and clear. You guys are probably going to think I get really excited about really small things after I say this, but that's okay. After I accomplished fixing the text I kind of sort of started cheering my brain off saying, "TALIA YOU DID IT!!, TALIA YOU DID IT!!, TALIA YOU DID IT!!", but I mean I couldn't help it I was so proud of myself for doing all of that without Mr. Sanderl's help. That's how I had a problem and then solved it.
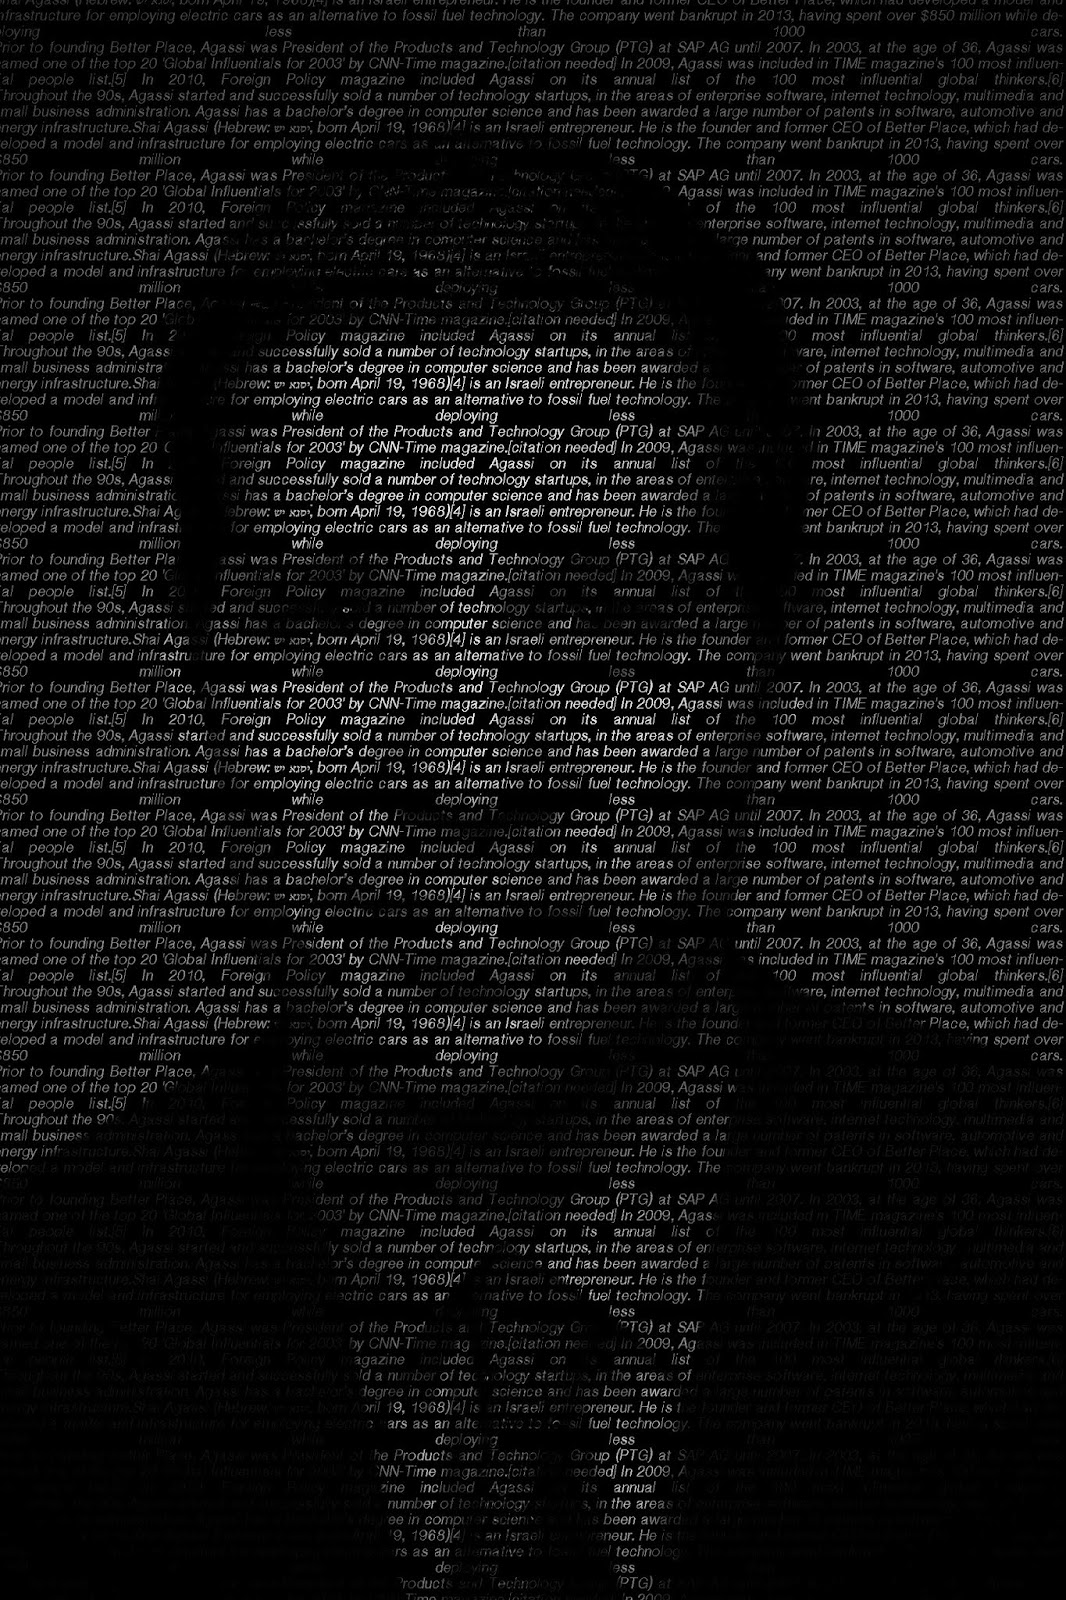
 I have 3 examples to share with you and they're down below at the end of this blog post just scroll down and they're there. The first example of my 3 is the Innovator portrait. The Innovator portrait was a portrait picture of a well known innovator I chose Shai Agassi. With the innovator portrait we did it a little different than the two other of my examples. With the Innovator portrait I first I loaded it in to Photo Shop. Then, I filled a new layer with black and started pasting the text I copied from Wikipedia into a text box. Next, Masked the text layer and copied the original image and pasted it into the mask. After that I was done!! My next example is the teacher Portrait. With the Teacher portrait we basically did the same thing, but instead of a black background I used a white background. My teacher was my AMAZING mom, Mrs. Washington; the Library Clerk. My final example is the Portrait of my favorite thing ME!! The process of this example is a little different from the other examples; instead the portait of me we used turned the cut out Black and White. These are the steps.
Hope you guys enjoyed this blog post and make sure to scroll down for my earlier post


