Wednesday, February 25, 2015

Double Exposed Portraits

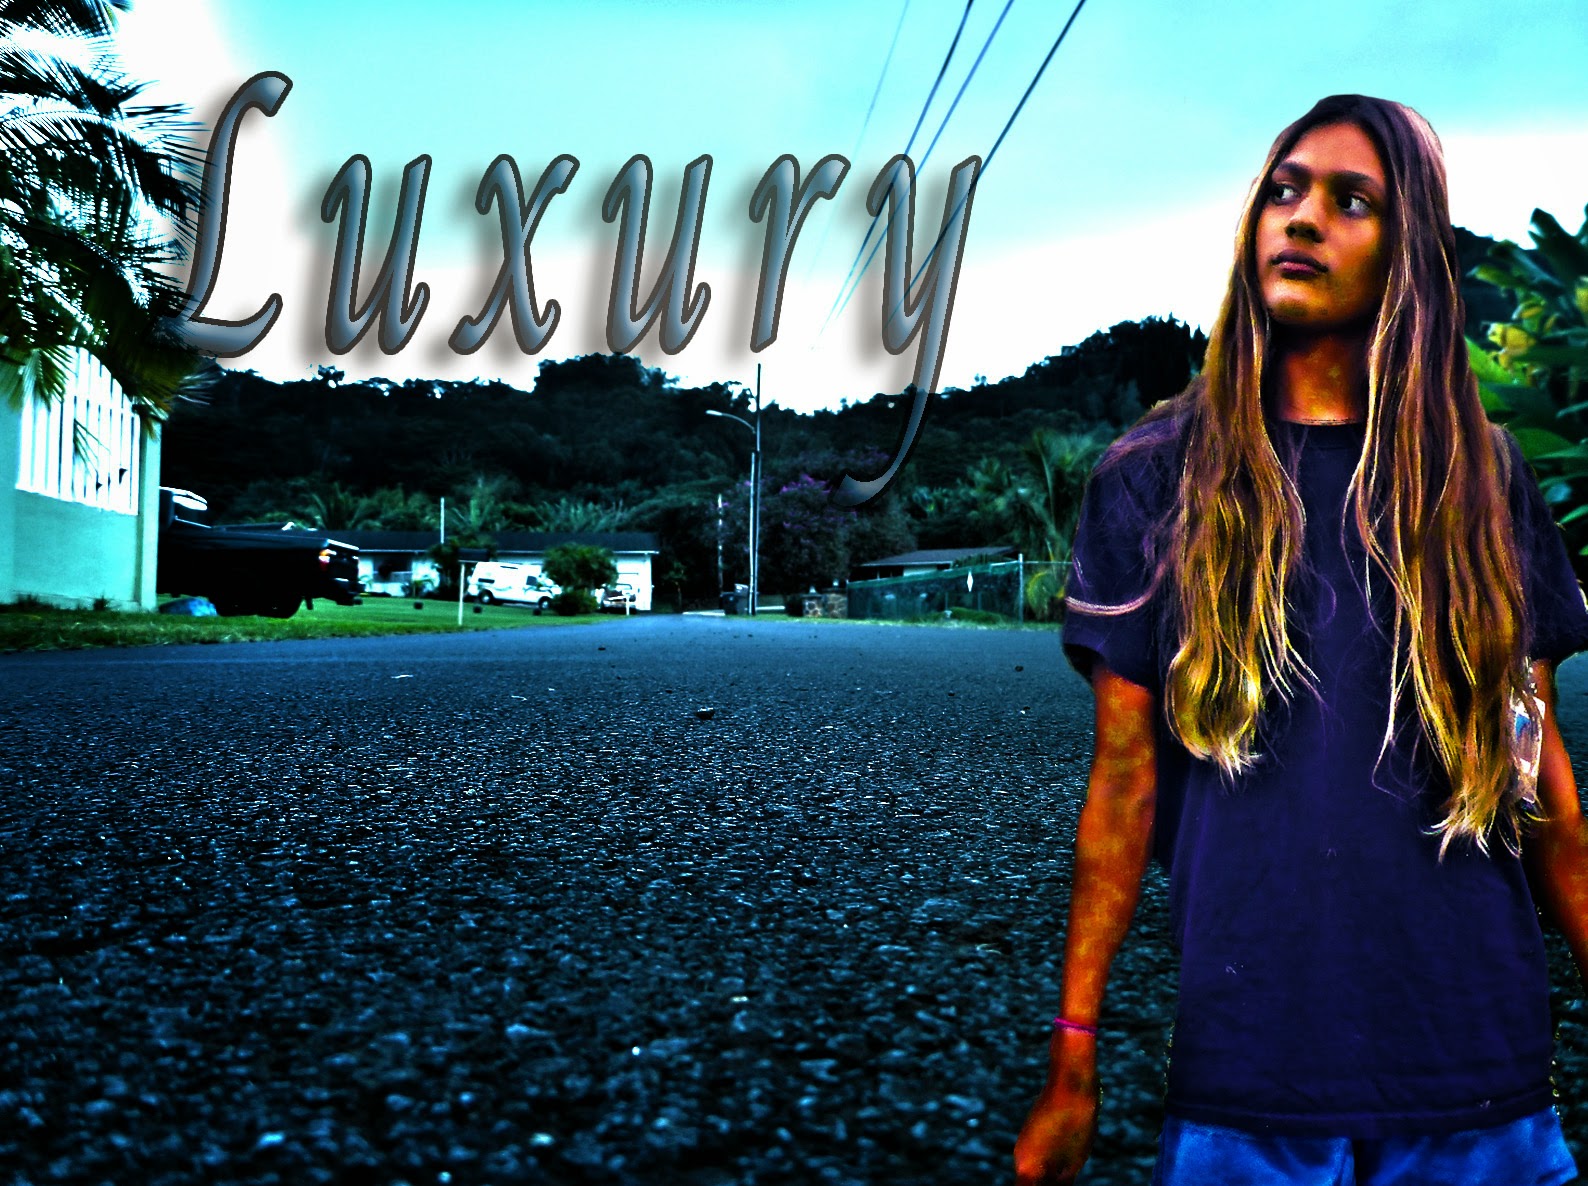
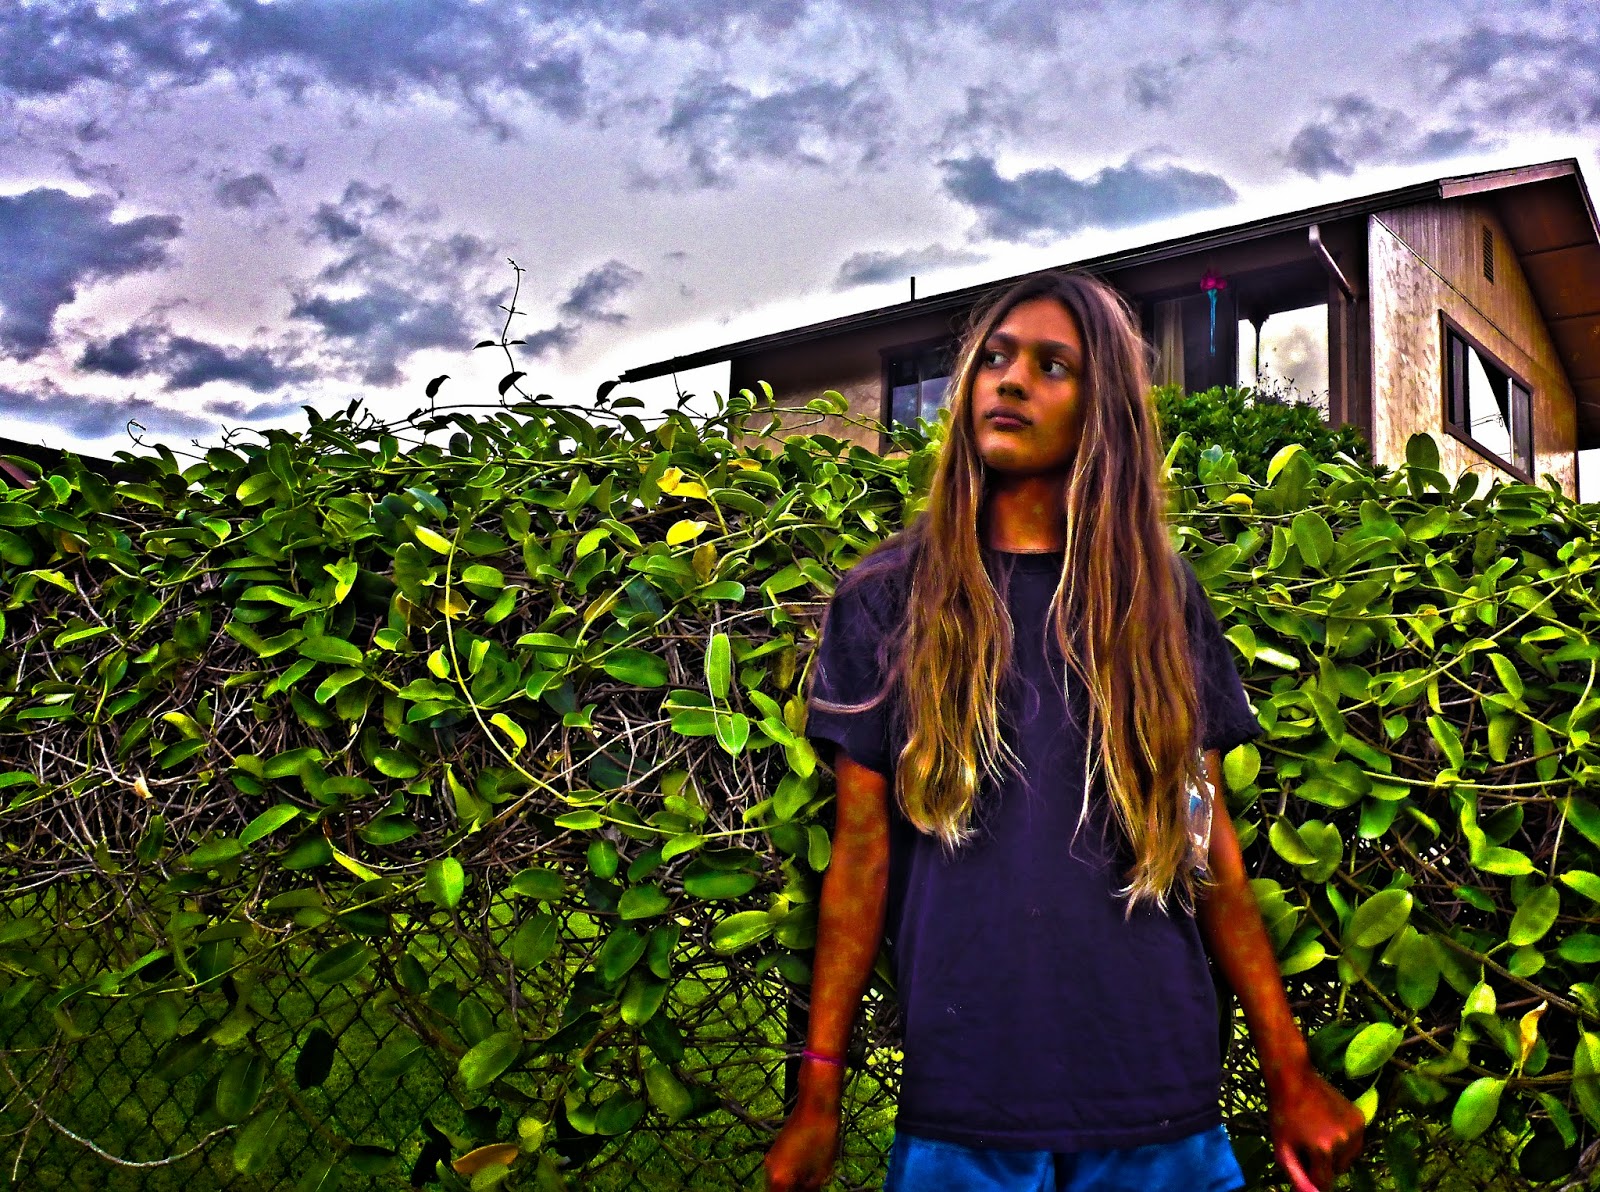
Hey guys! so our current project in GT is to create a Double Exposed Portrait. Portrait photography is photography of one person or multiple people showing emotion, personality, and mood of the subject. When taking portraiture the face is the main focus of the photograph, but other parts of the body may be added if necessary. The portrait photography is related to Silhouette because the profile image strongly depends on the main parts of the face (chin, nose, and forehead) these features make the image clear and understandable. When taking a portrait photograph you include the chin, forehead, and nose because those parts are part of the face which is how portraiture and profile view are related. It's related to profile view because both have a side view, outline, or represent some type of object.


This is an explanation on how double exposed portraits are created. First, take 3 amazing photos; 1 being the profile and 2 photos of anything you like or symbolizes you. For example you could capture shots of trees because you really like trees or you could take a picture of flowers, your favorite sport, beach, etc. Then, after taking those incredible photos you need to import them and open them in photoshop by first clicking on File > Scripts > Load Files into Stack. After all of your layers are there, there's a dodge tool icon on the left pallet the tool looks like a balloon with a straight stick coming out of it. When you click on that tool the brush icon should now be your mouse and you need to adjust it where it's either hard or soft big or small, but you really want to get around the edges so I would suggest using a small brush. After your done dodging your image you need to size and then crop your image. Once you've done that turn all of your layers to screen mode and after you've done that all images should be opaque.

The two symbols I used are soccer and a sunset. i used these symbols because I thought that these really symbolized what I do with my free time and what I love to do. I took a picture of me with a soccer ball and my cleats because soccer is only like my number one favorite sport ever!! i love soccer and when Mr. Sanderl said that we had to rake pictures of what we love to do Soccer is the first thing that came to head. I used a sunset that I took from my church because I thought that the way the trees blocked some of the sky kind of told how i'm shy when I first meet you and then when you get the inner me, you really know me, and you got your way through my barrier it's very bright and vibrant because i have a very enthusiastic personality and i'm just very colorful, but you can only find out if you get through to me. I just really liked these topics that i took pictures of.

I hope you enjoyed reading and looking at this weeks post I hope you read and view all of my other post and have an Amazing day!! See ya Later:))

Thursday, February 5, 2015

HDR Photography

Our current project for GT is to take seven pictures of a landscape of our choice. HDR aka High Dynamic Range is a process that creates a clear scene to the eye by taking multiple contrast images. High Dynamic Range is used when your in the worst situation possible, you have the perfect shot and your at the golden hour of the day, but your camera sucks, and the balance of your colors are really uneven and the image looks extremely weird. I really like that instead of seeing really blurry and unbalanced photos the photos you've processed with HDR come out to be crystal clear and when you use HDR your photos turn out really detailed and amazing.

To create a final HDR image you need to follow these steps.
-Take 7 amazing photos from dark to light
-Import them to your device(make sure you have Photoshop)
-Go to Photoshop and click File>Automate>Merge to HDR Pro
-A pop up will come and you need to go to your folder and pick out the 7 photos
-Click ok, and Photoshop will do the rest
This is totally different from automatic HDR; when using auto HDR the device does all of the processing by itself you don't really have to do anything because the device is doing it for you. When you create an HDR image manually it feels like your actually learning something because you're going through the process of making the image, and not the device that uses auto HDR.

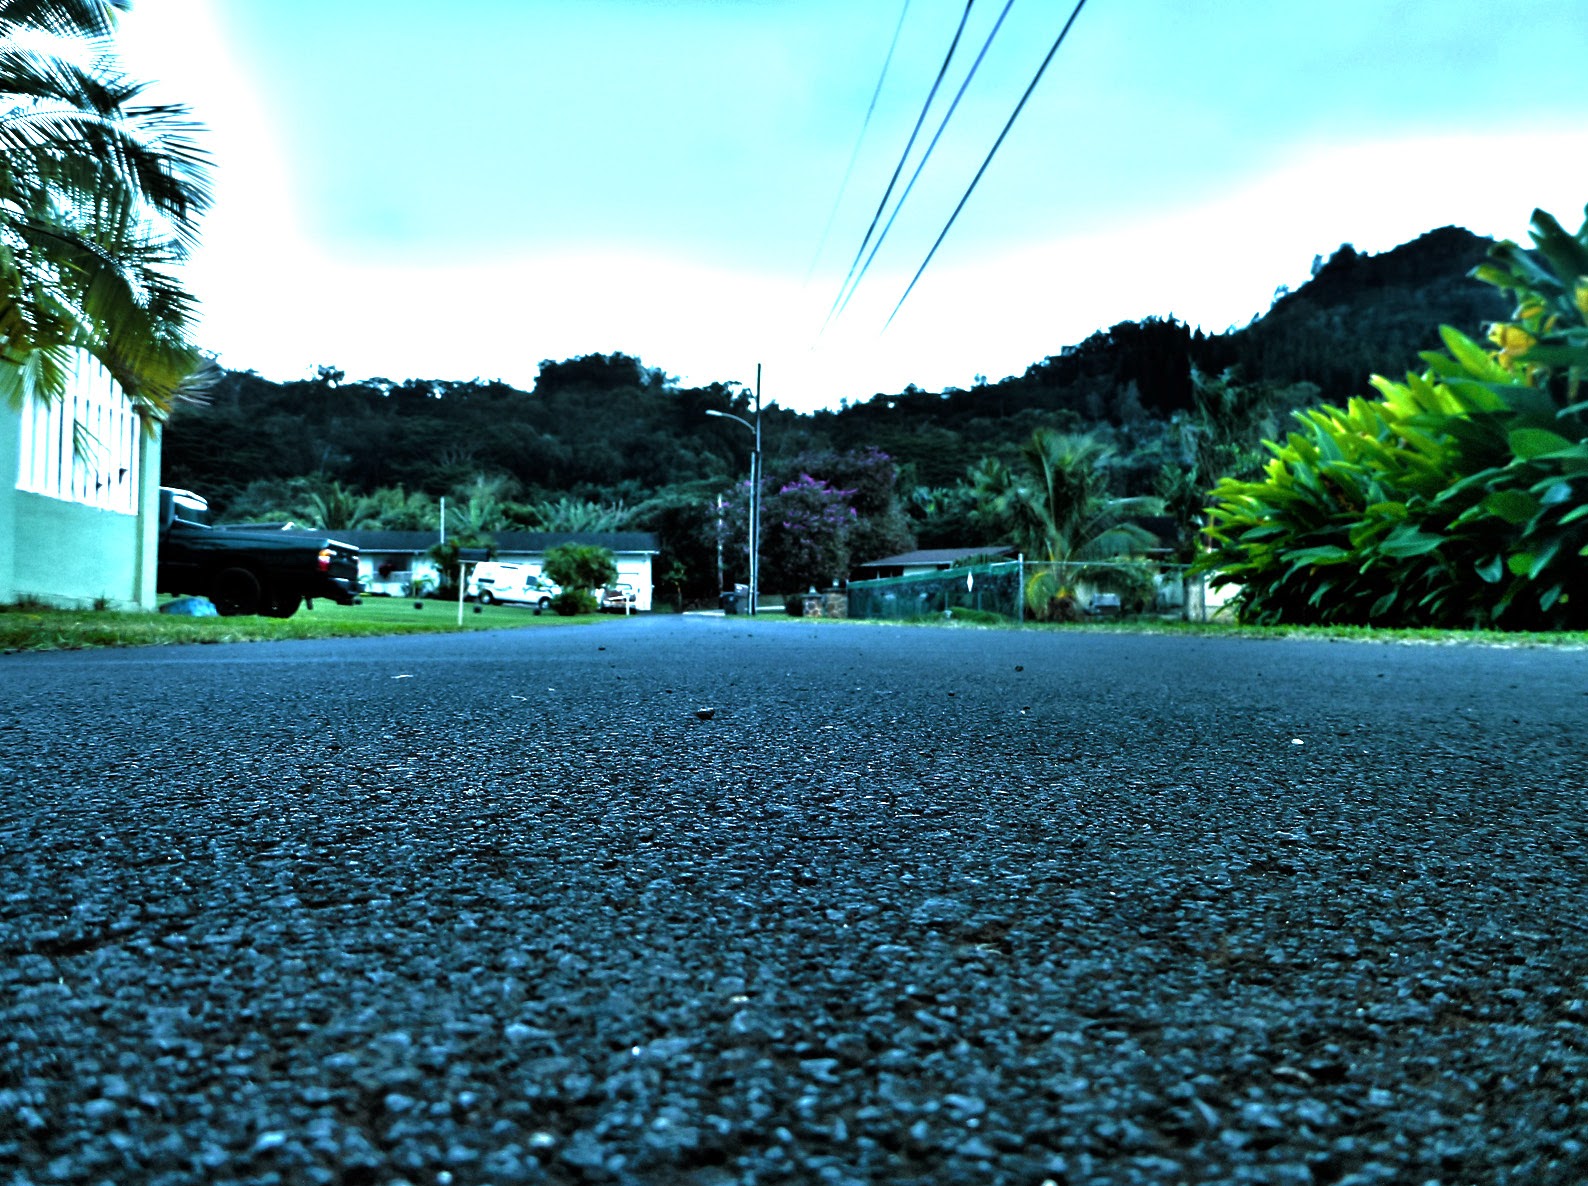
For my first photo, the HDR landscape, I knew I had a beautiful scene behind me, the sleeping giant, so I decided that since I have such a wonderful scene why not use this scenery to make an outstanding image. I really wanted a line that leads to somewhere (leading Lines) so, I thought of using my road as a line and I could get on the ground so that it would look like it was leading to my neighbors house. I also realized that by getting on the ground I would create sort of and unusual angle. I took my shots and thought they were really good so I kept them. For my other HDR image the HDR Experiment, I thought of getting my mom. I thought put my mom on the side of a vase with beautiful bright flowers to brighten up the portrait. I placed her in the rule of thirds, but I made the mistake of not giving her enough look room. I only realized that during Mr. Sanderls' class when he was critiquing my HDR Experiment.

Wednesday, January 21, 2015

Movie Trailer Critique


Hey guys! So, our recent project for GT was to create a movie trailer critique. In this movie trailer you and your team had to put your minds together and think of a creative and appropriate trailer for 1st graders. After you had your idea you needed to check out a camera and start FILMING! My team KasiahMaddie, and Arianna decided to make our trailer a mystery movie Kasiah played Rebecca the victim, Maddie was the narrator, Arianna was Amethyst the robber/assistance, and I was Thalia the Detective. We checked out a camera and started shooting parts to our trailer; the first thing we did was take some pictures for the movie poster. Then, we shot the first scene which was about how Amethyst the robber stole Rebecca's ring. Finally we continued shooting as much scenes as we could in the amount of time we had before our parents came to pick us up.

All of the GT students had to then accomplish the requirements for this project. The requirements for this project were; it had to be 1 minute and 30 seconds to at most 2 minutes and 30 seconds, it had to have 5 scenes, include a Voice Actor, Dialogue, Foley, Text Layovers, and a Movie Poster. My team and I met all of the requirements; we had 1 minute and 30 seconds of footage, we had about 6-7 scenes, Maddie was our Voice Actor, We got Kasiah to stomp her feet for the foley and we also hit a stuffed animal against a wall for a thump sound.Our text layovers consisted of the basic "Coming Soon" and "In theaters near you. Finally my team and I all had to make a creative poster to go with our movie trailer, so we all created one, but we went with Kasiah's poster because as a team we thought her poster had a little more flare than the rest of ours.

Finally, after the entire class shared their movie trailer with us we had to critique them. The class critique I thought was pretty reasonable. The class resulted the project as the second best movie trailer with a total of 7 votes for the overall best of the movie trailers. I thought that the results were really good, Snoopy George was a great movie trailer, and ours could've been better, but I am actually really proud of my team, and our movie trailer. I totally agree with the results they gave us we accomplished all of our requirements, but we could've gone above and beyond! I learned that if you work otgether with your team you can accomplish A LOT of things


Friday, December 12, 2014

Movie Poster Promo

Hey guys! Here's another blog for you to read. In GT were currently working on creating a movie trailer. The team I am currently working with is Kasiah, Maddie, and Arianna. We have to make our own creative movie poster that goes with the movie trailer; the poster needs to have the main character, the plot, the setting, the opening date, etc. You need all this and more to make sure you are ready and have a couple ideas to create and choose the best one. This project is going to be a little struggle and my team is going to need to sing out the camera a lot, but I think we can do this.

Our movie trailer has a lot of characters, but there's is 3 main ones, Detective Thalia, Robber Amethyst, and Rebecca the victim. These three characters are extremely important to the movie trailer because The whole movie is based on them. The robber steals Rebecca's ring which is also has the code to her bank account engraved on it and if the culprit finds it her great fortune is destroyed. To find the culprit the detective and Rebecca need to work together to get her favorite Amethyst ring. The setting in this movie trailer is in Rebecca's mansion AKA Kasiah's house; the crime happens when Kasiah is dancing around painting her nails. Unfortunately Rebecca didn't know that would be the last time she could afford nail polish.

My movie poster isn't completely done I'm still adding the filter which looks really awesome right now. When I'm finished with my poster I bet it'll be AMAZING! I'll need these things to complete my poster and make sure it's better than perfect. Text-Title, Actors, Reviews, and the Production Company. Text Effects: Drop Shadow, Stroke, Bevel & Emboss. Image: Main Characters. Setting, and Plot Hints. Text Effects: Quick Selection, Filters, and the Color Balance need to be included.

A major tool we needed to use is the kerning. Kerning is the process of adjusting the lettering to create spacing between the text and just make the font the way you want it for a pleasing result. The kerning tool is a very important part of this project because we want our movie poster to be perfect and just the way we want it. Kerning is important because to have an amazing poster everything has to be on point; which includes the text. Mr. Sanderl showed us this really cool website where it gives you the chance to actually try and Kern for yourself WEBSITE. This Website really helped me with practicing the kerning tool; now I know how to adjust the text to the way I prefer it to be.

Monday, December 1, 2014

Proactive or Procrastination

Hey guys! so the students of GT have to write 3 paragraphs of if there a procrastinator or a proactive person.You have to be completely honest and explain why you think what you think. I don't listen sometimes,which is like twice a day, but I think that I am more on the side of being Proactive. I will be totally honest with you I think that I'm a proactive person. I always follow the rules, I know what I have to do. I usually only talk to collaborate with my team, teacher, or to help my piers in that class and if they're having trouble with something. Overall I think that I am a very proactive person.

My level of productivity is great. Most of the time I am usually working on something that could be improved because I finished my current project or something like that. I really try to get my work done by the due date that was assigned to that project. It bothers me if I turn something late because I know that once I am late on turning my work in I'm behind on that class. I'm almost never distracted most of the time. When I get an assignment I make sure to get things done and that it's my best work so that I am solid for when grades come up.

To make sure I'm always on task I try to prevent myself from getting distracted. It means a lot that I can finish my work on time and get some free time to do something fun or just take a break from working. Also, I must be sure to try and finish the assignment the day I was given it. I always try to go above and beyond, going above what is expected. I try to make as much time as I can fr my school work, but sometimes I can;t and that really hardens


Wednesday, November 12, 2014

My Visual Poem


Hey guys! It's me again recently Mr. Sanderl gave all GT students a project, My Visual Poem. My poem is about the rush I feel when I approach the field and play my favorite sport Soccer and how passionate I am about the exciting sport; just letting my spirit flow free while the air guides me to the goal. How I have worked so hard to accomplish my goal of being the best soccer player I can be.The visuals made an impact by really expressing the feelings of the story and showing the viewers what really happens when I go to soccer, when I get ready to practice and the game.

The special effects I added were pretty good. In my opinion I think that my special effects really brought interest because they were all so cool like the Kens burn effect, the dissolves, etc. All of them added this really awesome extra to the video. It captured the excitement I felt when dribbling the ball towards the goal and shoot the ball as hard as I can into the goal. The audience will probably love the effects I brought into the video and the rush when it dissolves and the Kens Burn effect and a whole bunch of other stuff.

There were some difficulties in making the film like some shots weren't focused enough or the camera was very stable. The hardest thing was putting all the clips together and having someone else shoot something of me that I wanted to shoot, but I couldn't. Another problem is that I had to get a lot of footage but I didn't get to use all of it because some clips were too long and it didn't make sense if I cut off a little bit of some clips and left some other stuff and it was just very frustrating.

The video overall I thought was Great!! I think that I did a really good job  filming and editing and just thinking of the ideas. My poem was on point it sounded great the way I expressed my feelings and how I made the shot feel the rush I have when dribbling down the field. I really liked the shot if me when tying my shoes and walking on/off the field. I really can't choose which shot I liked best because they're all so great, but they do have some problems with them.


Wednesday, November 5, 2014

Finished News Story


My team and I filmed a story about a middle school teacher who doesn't only teach, she's an artist as well. We decided to go with this story because we see her inspire so much students and staff; she treats her students equally and with great respects, she makes sure that all students are happy and not afraid to do what they believe. The people that contributed in our story are Gabriela Bryan, Michael Amoyo, and the wonderful Mrs. Sanderl. They all were a very big help they were very good listeners and did exactly what the team and I asked them to do. The interviews went really well we had to interview them a little over one time, but at the end it was successful.
The final Cut turned out Spectacular it was way better than I expected I thought it was gonna turn out pretty good but it turned out really great actually better than great it turned out amazing. After I saw the story that my team and I created I couldn't believe it I could not believe that 2 seventh graders and 2 sixth graders had created such an excellent piece of video.I think that we did this because we all worked together and communicated very well. I am very happy with the finished Cut.
I agree with the results my piers put for the story my team and I created the story wasn't perfect but it was pretty decent. I think that the critiques were very helpful for our story about Mrs. Sanderl. All of the critiques let the team know some improvements we could've made.